Showing posts with label SYTYC. Show all posts

Saturday, May 29, 2010


Yup, I am going "home"

I am out this round of SYTYC. I am sad, cause next weeks theme is right up my alley (can't say what it is yet...)
but I am pretty proud of myself for making it to the top 5. Plus two wins in a row...that ain't so bad!

Its actually funny I went home this week, cause the summer theme was the easiest for me to come up with, I knew I wanted to do the lemonade stand as soon as I saw that summer was a theme.

I do have to say last weekend was CRAZY!!! My siblings, dad and I did a surprise 50th b-day party for my mom, Rosy Cheeks
and between preparing for that, working and all the end of the year parties, I am amazed I even got the stand done! It was really all thanks to my dad (Thanks dad!!)
who helped put the PVC pipe together for me.

And I have accomplished so many other projects that have been on the back burner, so it was okay (well, mostly). And it was a blast while it lasted!!

On a side note, if there is a request for a fairly simple how to or at least a materials list for the lemonade stand, let me know and I will put one together.

Sunday, May 23, 2010

Another win!

My neglecting of this blog has not been in vain....

I am so excited to have won the Science challenge over at
Two weeks in a row! Hopefully this week goes just as well.

I must stay crafting on demand and with a theme has been quite a challenge, but I am enjoying every minute of it! But between competing in SYTYC, planning and hosting my moms, Rosy Cheeks surprise 50th bday party (which was yesterday and was really, really fun!) and attending all the end of the year school functions my three kiddos are involved in, all while working 30 hours a week and maintaining a house, this poor little blog has been sadly neglected. But I am still here...and crafting away!

This was my entry this week at SYTYC:

Put your love in print...finger print that is!


With this cute pendant made with yours and your honey's fingerprints. Add a verse from "your song" and you have a one of kind keep sake!


Or swap out your sweeties finger prints for the kids and you have a unique Mothers necklace.


As a bonus, you always have your child's fingerprint handy...just in case

I toyed with a few different ideas, including this cute necklace showing the eight planets.


This more than likely would have been my entry had they looked a little nicer and photographed better.

But I would have stopped then and not created the fingerprint pendant, which I LOVE!

Thursday, May 20, 2010

Paper Doll magnet Tutorial


Supplies:

Metal Tin container w/a lid
A magnet sheet
Modge Podge
Sponge brush
Picture printouts
Assorted paper and cardstocks
Tulle
Buttons (optional)


Step 1:
You will need several pictures of your "doll" in different outfits. One picture should be of her in something fairly tight and neutral colored. I had Taya, my sweet model/doll and adorable daughter, put on a pair of bicycle shorts and a cami. You could also do a swimming suit for this part.


It is important that your doll has the basic same pose, with the feet the about the same distance apart and the arms/hands in the same position. To make the cutting part easier, I would suggest making sure her hair is pulled behind her sholders, tha her chin is up and that her hands are not directly against her clothes.


I took the pictures of Taya over several days, as she wore a paticular outfit. On the day I was ready to put the tin together, she only had to put on two outfits, which made her much more cooperative then if I would have had her doing all six outfits at once.

If you choose to take the pictures over several days, I would suggest that you make a note of were you are standing so that you are alwasy getting the same basic porportion to your picture

I made sure that I was always about even with the door opening when taking the pictures.

Some fun suggestions for outfits: School uniform, church clothes, work clothes, play clothes, dance uniform, sports uniform, PJ's, Snow suit, Halloween Costume, Tutu...there really are so many you could do.

Step 2:
Next you will want to edit the pictures. I just do this in Windows Photo Gallery, because I don't have Photoshop. But whatever works for you.
This is what the picture looks like right off my camera.


I crop it in closer, brighten it up and then print it. (And yes, she is rolling her eyes at me!)


To fit my tin I printed in 4x6 on regular printer paper. It is much easier to cut and stick to the magnet sheet if you do it on regular paper as opposed to cardstock or photo paper.

Step 3:


Once you have printed all your outfits, you will cut them out. There was a reason I choose to take her pics against a white door, it made it alot easier to tell where I was cutting. It is better to cut ever so slightly over the picture, to remove all the white.

On the above picture you can see that there is a little shadow of her shoes on the scraps.

Basically, you are removing anything skin and just leaving the clothes. The arms, head, feet and neck all come off. I used a pair of manicure scissors to get in really close.

Then use modge podge to glue the outfit to a sheet of magnet. Allow to try for a few minutes, cut out around the outfit again and apply a top coat of modge podge.

Repeat for all the outfits.

Decorate the tin with paper how you would like. Once done apply a top coat of of modge podge. Cut out the main doll, leaving the body intact. Then secure to the top of the tin with modge podge.

Attach pieces of magnets to the back of the buttons with hot glue. Place all the outfits inside the tin.

Enjoy and thanks for voting for me!

Saturday, May 8, 2010

SYTYC Teacher Gift

Wow! I was all set to "go home" and then made it through...barely...there were some dang cute crafts last week! I have to say that I really, really loved this one:


This one is not mine, just the one I voted for...I am not sure who did it yet, but I am totally coveting this...I must make one to go in my craft room, to keep all my glue, rulers, thread, etc in....I may need two!

I was suprised mine was the only one that actually involved the student/child.


It seems a teachers to do list is endless: Grade papers, Call parents, Meet with the principal, and on, and on...!

So lets give teacher a special place to write all those endless to do lists, sketch out lesson plans and jot down a quick note...


with a custom made composition notebook cover.

Having your child design and draw a special picture of his/her teacher

will make him/her proud to give their teacher this one of a kind gift. And the teacher will love the unique and reusable gift, when the notebooks full all she has to do is slip off the cover and slip it on an empty notebook.


You will be surprised how easily and quickly this cute cover comes together...you may just end up making one for yourself, cause lets face it, us moms and dads are pretty busy too!


It may not have won, but my kids teachers LOVED it!!

Plus, I think it would be way cute to do for grandma/nana for mothers day....wonder if I have time to make a one before tomorrow?? Probably not, seeings how I am headed out the door to play floral arranger for my mom, Rosy Cheeks who is a florsit by trade. Its going to be along day!

Saturday, May 1, 2010

SYTYC Bath Time...

Another round of SYTYC done and I am still in! I am pretty excited...I did better than last week, so that's good! The bath fizzes were mine. Now these come with a bit of a story....I have to say I was pretty miserable while making these. I have made this bath fizzy recipe dozens upon dozens of times! Granted, never in a cake shape...but still. Well the first batch fell on its face, completely crumbled the next day, which, because I am a terrible procrastinator, was the day before the project was due.

Now add to this that I have a massive sinus infection going and I may have been a bit moody (hubby says that's putting it mildly). So I may have thrown a fit or two....or ten! I was right in the middle of a tirade to my poor, sweet hubby with a off handed comment of "I should just withdrawal, I am miserable at this!" When my cutie pie 10 year old son gave me the pep talk of the year! He told me I had to stay in the competition and even if he had to stay home from school (I know so sweet of him, trying to sacrifice school for me....) we would make a GREAT project!!!

So with Big G's pep talking rallying me, I pulled it together and they turned out so cute!! I am so proud and totally give Big G credit for them!!


Don't let these tasty looking cake slices fool you!


These delicious looking desserts are actually a pampering, skin softening bath fizzy!

The wedges were made with a "mold" that you can pick up at your local grocery store. A few ingredients, a layer of "frosting" and you have a delightful and unique party favor for all those summertime showers, that will do double duty as a fun center piece!


Or package them individually in a box or a cello bag...

(Be sure to notice in the bottom of this picture, the bath fizzy in action, softening your skin while it bubbles and dissolves in your bath tub!)

...tie with a pretty bow and tag...now you have a great little gift for your co- workers, girlfriends or just to brighten someones day!

I will get the recipe for these cuties up soon! And thanks for all those who voted, for mine or not...it was still a great week!

Saturday, April 24, 2010

SYTYC...

I made it through the first round! I was a little nervous there for a bit! Did you guess which was mine....


Yup, the butterfly shadow box. I have to admit, the folksy was really challenging for me. I love how it turned out, regardless of the fact I was towards the bottom.

And the butterflies inspired all the cute things I made for my front entry table and the wreath. I have been dying to post this for two weeks, but knew it would be a give away to which was my entry...so here is what I made to go with it....


The blocks...

introduce the papers. I may have admitted this before, but I am a paper hoarder. I love paper! It is really hard for me to cut it up...I mean, I know I can buy more, but what if I come up with something better that I could have used it on?

With that said, I love how all the papers combine, the perfect colors to kick off summer!

The topiary is a foam ball covered with "flowers", more on those in a minute...

some use buttons for the center, some use pearl beads and some have pins for the center. I used a branch from my tree as the pole. It took a lot of hot glue to stick it in place...actually this whole project took a lot of hot glue...

The birds nest

was my original idea for the folksy entry....but it just didn't feel folksy enough. The "nest" is burlap that was bathed in a mixture of mod podge and water


then molded around a plastic wrapped bowl


and left to harden and dry.

The birds are made with Muslim, that I hand dyed with Kool aid,

yup Kool Aid..with a just enough water to cover the fabric. I love how vibrant they turned out!

The wreath

started with a dollar store wreath. I hot glued flowers all around it, using the same types as I did from the topiary. I then used wire to make a few of the butterflies

float around the wreath....I sprinkled the butterflies throughout all of the projects.

The flowers used in all of the projects was an idea I found in Scrapbooks,etc.
If you look closely,

you can see that they are hearts, that are folded in half, then folded back in on itself and then opened up. Then they are hot glued onto a circle and finished with the different centers. I had so much fun trying different layers, and combinations to make all kinds of different flowers.

This week I have been working on "Bella" for my Hug them All project.


And been quilting away with Obsessively Stichings my first quilt...quilt along.


I am really excited about next weeks round on SYTYC be sure to check it out on Monday when a new theme is introduced and all the new crafts are posted and if you can take a minute to vote.

I am linking this post to:

Creations by Kara

Friday, April 9, 2010

DS Storage Case


You will need:

Chipboard suitcase
1 yard of heavy felt
colored copies of game covers
paint
scissors
Mod Podge
Paint brush
hot glue gun
sewing machine
thread

Start with a chipboard suitcase.

I got mine at Joanne's. It was $10 but I used my 50% of coupon to buy it. Paint the inside and outside. I used black.

I scanned in Big G's favorite game covers and then printed them out on my home printer. You could also color copy them.

These work best printed on regular printer paper not card stock. For some depth I used the front, the back and even a bit of the spin of the game.

Cut around the copies and lay out on the top of the suit case until you like the layout.


Coat the suit case, not the copy with mod podge. Work in little sections, so it doesn't dry out. Lay the selected copy in place. I use an old credit card to press out all the bubbles. Once all the copies are in place, coat the entire top with a thin coat of mod podge to seal.


The logo on top is just the spin of one of the game copies, enlarged.

Trace the shape of the suitcase onto the felt. Cut a little inside the line to make sure it fits inside the suitcase.


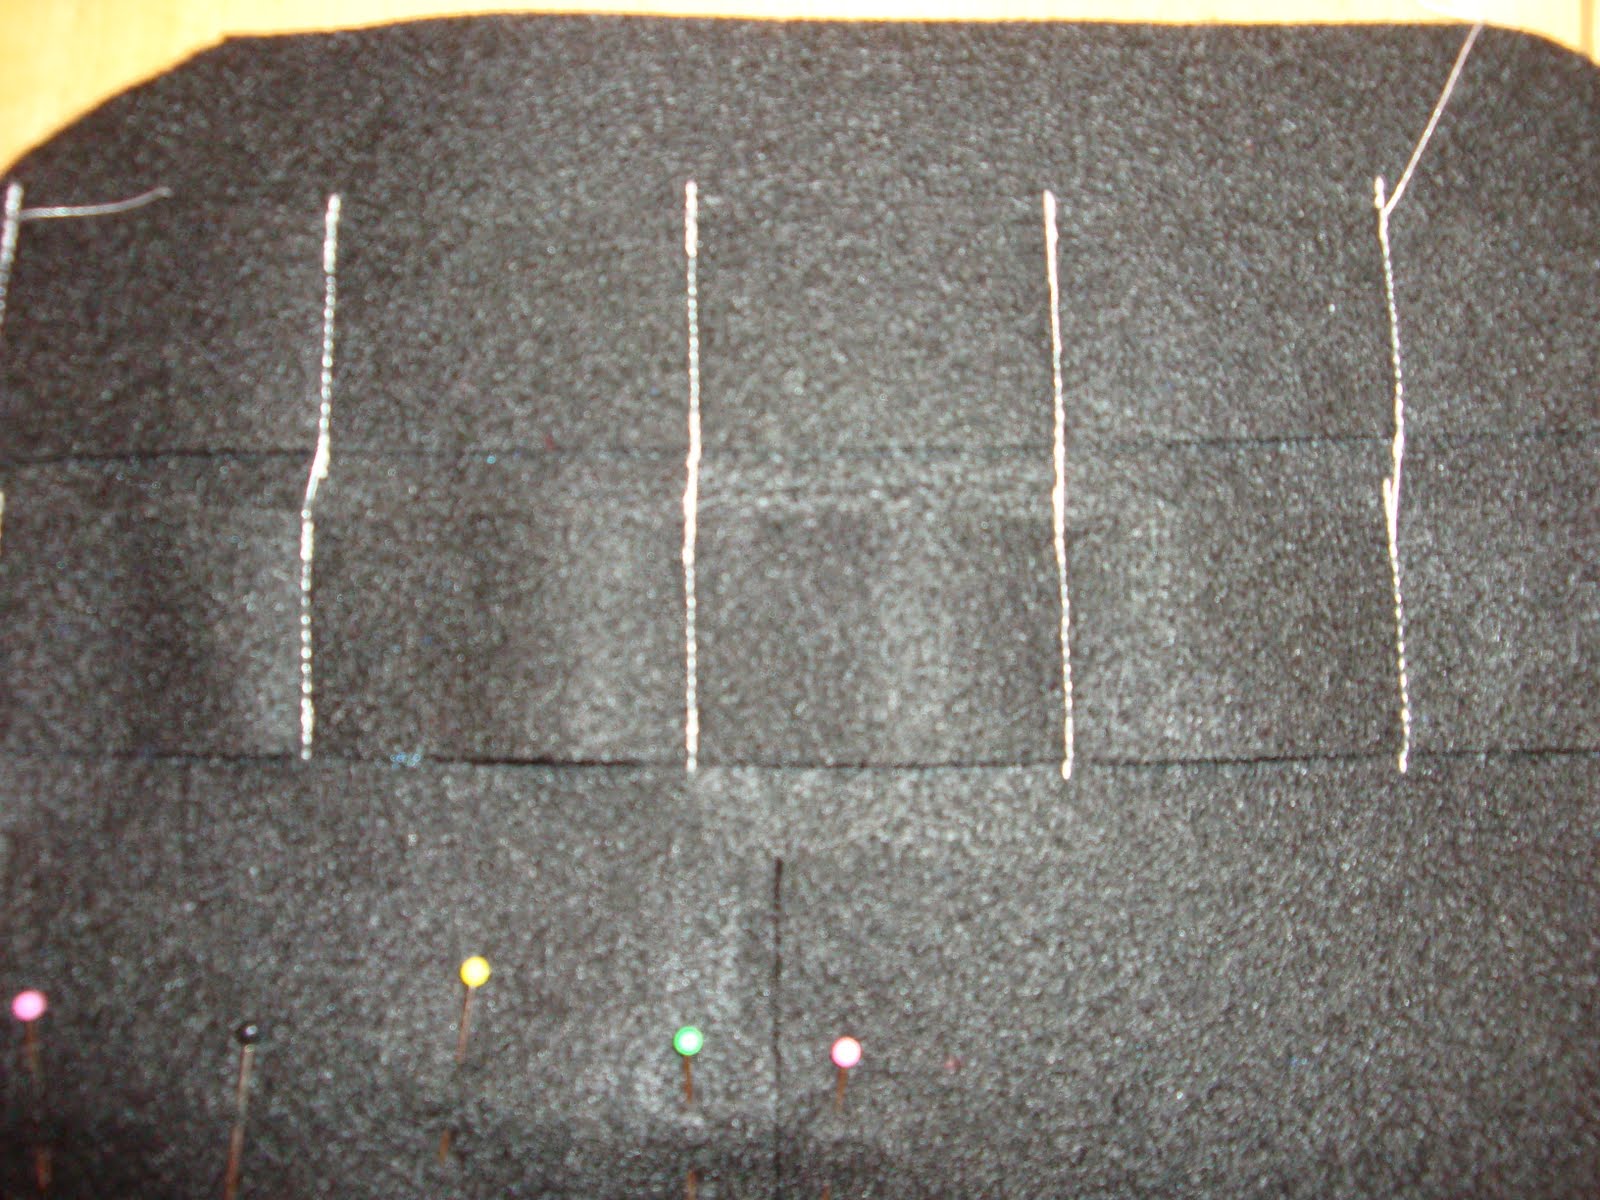
I made pockets to fit the games and styluses for the top or lid of the case. I also added a slightly larger pocket to hold game manuals.


I measured with a game and a styluses, marking with a pin. By placing my finger between each pin, it leaves a little gape to ensure the game/stylus will fit.


When sewing the pockets, I always sewed between the pockets first and then the length.


For the bottom part of the suit case, I added Velcro straps to hold the DS. Originally I had a pocket, but it was hard to angle the DS into the pocket, because of how deep the suit case is.

Two more pockets complete the bottom. Big G can use these to store chargers, screen protectors, etc.


Once all the pockets were stitched in place I used hot glue to attach the felt lining to the chipboard suit case.

Pretty easy! Now I just have two more to make....